Introduction and Overview
What Are Cherry Pistachio Cheesecake Bars?
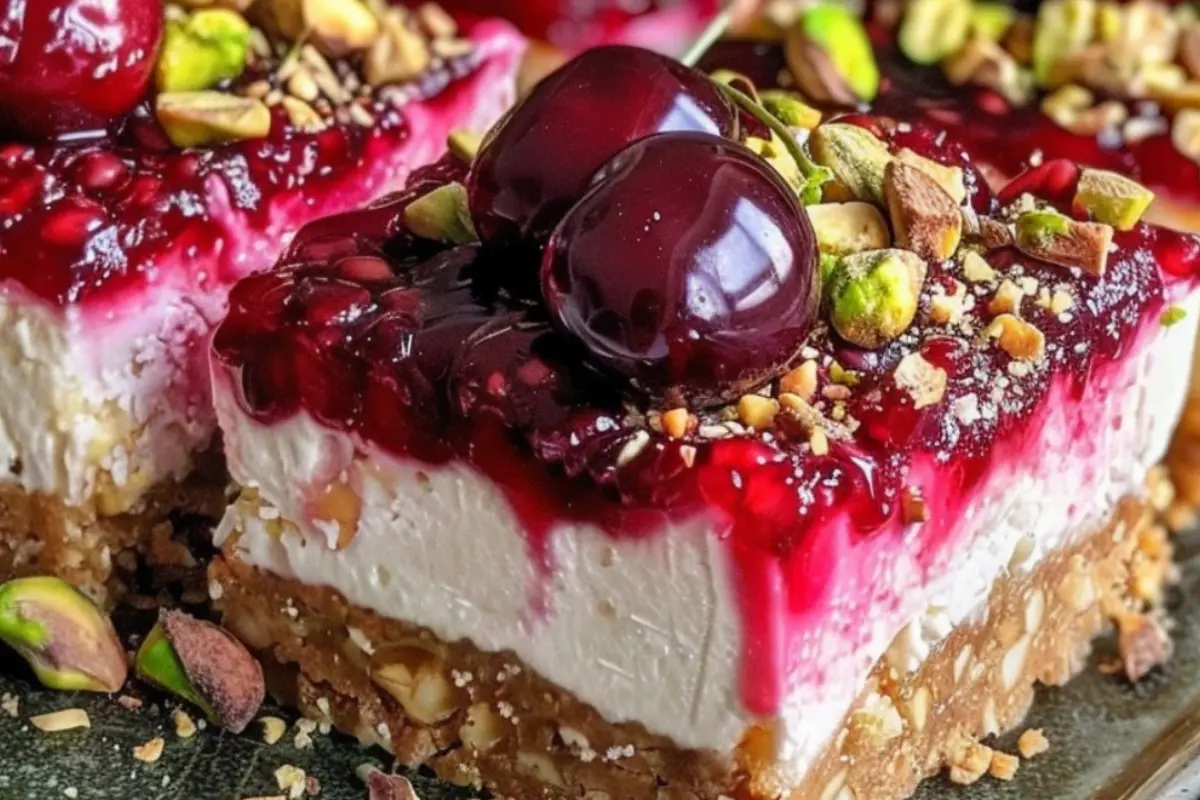
So, what exactly are Cherry Pistachio Cheesecake Bars? Imagine a buttery graham cracker crust infused with finely chopped pistachios, topped with a creamy cheesecake layer, and finished with a vibrant cherry topping. These bars combine the best of both worlds: the creamy, smooth texture of cheesecake and the nutty, crunchy goodness of pistachios, all balanced by the sweet and tart cherries.
Compared to other cheesecake bar recipes, this version stands out for its unique combination of flavors and textures. The pistachios add a delightful crunch and a subtle nutty flavor, while the cherries provide a refreshing contrast to the richness of the cheesecake. Whether you’re a seasoned baker or a novice in the kitchen, these cheesecake bars are both impressive and achievable.
In the following sections, we’ll delve into the essential ingredients and preparation steps needed to create these delicious bars. Stay tuned to learn how to choose the best ingredients and prepare your Cherry Pistachio Cheesecake Bars to perfection!
Ingredients and Preparation
Ingredients Needed
To create the perfect Cherry Pistachio Cheesecake Bars, you’ll need the following ingredients:
- For the Crust:
- 1 1/2 cups graham cracker crumbs
- 1/2 cup finely chopped pistachios
- 1/3 cup granulated sugar
- 1/2 cup unsalted butter, melted
- For the Cheesecake Filling:
- 16 ounces cream cheese, softened
- 3/4 cup granulated sugar
- 2 large eggs
- 1 teaspoon vanilla extract
- 1/2 cup sour cream
- For the Cherry Topping:
- 2 cups fresh or frozen cherries
- 1/4 cup granulated sugar
- 1 tablespoon lemon juice
- 1 tablespoon cornstarch mixed with 2 tablespoons water
These ingredients come together to create a dessert that’s rich, creamy, and bursting with flavor.
Preparing the Crust
First, let’s prepare the crust. Preheat your oven to 350°F (175°C). Line a 9×13-inch baking pan with parchment paper, allowing some to hang over the sides for easy removal later.
In a medium bowl, combine the graham cracker crumbs, finely chopped pistachios, and granulated sugar. Pour the melted butter over the mixture and stir until all the crumbs are evenly coated and resemble wet sand.
Press the crumb mixture firmly into the bottom of the prepared baking pan. Use the back of a spoon or the bottom of a measuring cup to pack the crumbs tightly and create an even layer. This ensures that the crust holds together well and provides a solid base for the cheesecake filling.
Bake the crust in the preheated oven for about 10 minutes, or until it starts to turn golden brown. Remove it from the oven and let it cool slightly while you prepare the cheesecake filling.
By carefully following these steps, you’ll achieve a perfect, buttery crust that adds a delightful crunch to your Cherry Pistachio Cheesecake Bars. The combination of graham crackers and pistachios creates a unique and flavorful base that complements the creamy cheesecake filling and sweet cherry topping beautifully.
Preparing the Cheesecake Filling
Making the Cheesecake Filling
Now that the crust is ready, it’s time to prepare the creamy cheesecake filling for your Cherry Pistachio Cheesecake Bars. This filling is the heart of the dessert, offering a rich and smooth texture that pairs perfectly with the crunchy crust and tangy cherry topping.
In a large mixing bowl, beat the softened cream cheese and granulated sugar until the mixture is smooth and creamy. This usually takes about 2-3 minutes with an electric mixer. Ensuring the cream cheese is softened helps achieve a lump-free filling.
Next, add the eggs one at a time, beating well after each addition. This gradual incorporation helps maintain a smooth texture. Then, add the vanilla extract and sour cream, mixing until just combined. The sour cream adds a slight tanginess and helps create a silky texture.
Pour the cheesecake filling over the slightly cooled crust, spreading it evenly with a spatula. This step is crucial for ensuring each bar has a consistent layer of creamy filling. Smooth the top to make sure it bakes evenly.
Preparing the Cherry Topping
Now, let’s move on to the cherry topping. In a medium saucepan, combine the cherries, granulated sugar, and lemon juice. Cook over medium heat, stirring occasionally, until the cherries release their juices and the mixture begins to simmer. This usually takes about 5-7 minutes.
While the cherry mixture is cooking, mix the cornstarch and water in a small bowl to create a slurry. This slurry will help thicken the cherry topping.
Once the cherry mixture is simmering, slowly add the cornstarch slurry, stirring constantly. Continue to cook the mixture for another 2-3 minutes, or until it thickens and coats the back of a spoon. The topping should be glossy and have a jam-like consistency.
Remove the saucepan from heat and let the cherry topping cool slightly. Spoon the cherry topping over the cheesecake filling, spreading it evenly. This final layer adds a burst of fruity flavor and beautiful color to your Cherry Pistachio Cheesecake Bars.
By carefully preparing these layers, you ensure that each bite of your cheesecake bars offers a perfect balance of creamy, crunchy, and fruity flavors. The smooth cheesecake filling combined with the vibrant cherry topping creates a delicious and visually appealing dessert.
Assembling and Baking
Assembling the Cheesecake Bars
Now that all the components are prepared, it’s time to assemble your Cherry Pistachio Cheesecake Bars. Start by ensuring the crust and filling are both ready and slightly cooled. This step is crucial to maintain the integrity of each layer during baking.
Pour the cheesecake filling over the baked and cooled crust, spreading it evenly with a spatula. Make sure the filling covers the entire crust to create a smooth, even layer. This ensures each bar will have a consistent texture and taste.
Next, gently spoon the cherry topping over the cheesecake filling. Spread it evenly to cover the entire surface. The vibrant cherry topping not only adds a burst of color but also enhances the overall flavor profile of the bars.
Baking the Cheesecake Bars
Preheat your oven to 325°F (160°C) if it has cooled down. Place the assembled cheesecake bars in the preheated oven and bake for about 35-40 minutes. The edges should be set, but the center should still have a slight jiggle. This indicates that the cheesecake is perfectly baked and will set fully as it cools.
Avoid opening the oven door frequently while baking, as this can cause the cheesecake to crack. Once baked, remove the cheesecake bars from the oven and let them cool to room temperature. Cooling the bars slowly helps prevent cracks and ensures a smooth texture.
After the bars have cooled to room temperature, transfer the baking pan to the refrigerator. Chill for at least 4 hours or overnight. This chilling period allows the cheesecake to set completely, making it easier to cut into clean, neat squares.
By following these steps, you ensure that your Cherry Pistachio Cheesecake Bars are perfectly baked and have a creamy, smooth texture with a beautiful cherry topping. The careful layering and baking process result in a dessert that’s as visually appealing as it is delicious.
Cooling and Cutting
Cooling the Cheesecake Bars
After baking, it’s essential to cool your Cherry Pistachio Cheesecake Bars properly. Let the bars cool in the baking pan at room temperature for about 30 minutes. This initial cooling step helps the cheesecake set gradually, preventing cracks and ensuring a smooth texture.
Once the bars have cooled at room temperature, transfer the pan to the refrigerator. Chill the cheesecake bars for at least 4 hours, but overnight is best. Chilling allows the layers to firm up, making it easier to cut clean, even pieces. This step is crucial for achieving the perfect texture and presentation.
Cutting the Cheesecake Bars
When your Cherry Pistachio Cheesecake Bars are thoroughly chilled and set, it’s time to cut them into servings. Carefully lift the entire cheesecake out of the pan using the overhanging parchment paper. Place it on a cutting board for easy slicing.
To get clean, neat cuts, use a sharp knife. For best results, warm the knife blade under hot water, then dry it thoroughly before each cut. This prevents the cheesecake from sticking to the knife and ensures smooth edges.
Cut the cheesecake into squares or rectangles, depending on your preference. To create uniform pieces, make your cuts as straight and even as possible. For a decorative touch, consider cutting the bars into triangles or diamond shapes, adding a bit of variety to the presentation.
For an extra touch of elegance, sprinkle some finely chopped pistachios over the top before serving. This not only enhances the visual appeal but also adds a delightful crunch to each bite.
By following these cooling and cutting steps, you’ll achieve perfectly shaped Cherry Pistachio Cheesecake Bars with a satisfying texture and delicious flavor in every bite. The careful cooling and precise cutting process ensure that your cheesecake bars are ready to impress at any gathering or special occasion.
Serving Suggestions and Variations
Serving Cherry Pistachio Cheesecake Bars
When it’s time to serve your Cherry Pistachio Cheesecake Bars, presentation is key. Arrange the bars on a beautiful platter or cake stand to showcase their vibrant layers. For an extra touch, garnish each bar with a fresh cherry or a few chopped pistachios.
These cheesecake bars are perfect for any occasion, whether it’s a casual family gathering or a formal event. Serve them chilled for the best texture and flavor. Pair them with a cup of hot coffee or a glass of chilled dessert wine to enhance the overall experience.
Recipe Variations
Exploring different variations of Cherry Pistachio Cheesecake Bars can add excitement and cater to various tastes. For a twist, try using different nuts such as almonds or walnuts instead of pistachios. Each type of nut brings a unique flavor and texture to the bars.
If cherries aren’t your favorite, consider using other fruits. Blueberries, raspberries, or even a mix of berries can create a delightful variation. Each fruit adds its own burst of flavor, making the cheesecake bars versatile and adaptable to different preferences.
For a gluten-free version, substitute the graham cracker crumbs with gluten-free cookies or crackers. Ensure that all other ingredients, such as cornstarch and baking powder, are also gluten-free. This adjustment allows everyone to enjoy these delicious bars without compromising on taste.
Another variation is to add a hint of citrus to the cheesecake filling. A teaspoon of lemon or orange zest can brighten the flavor and add a refreshing twist. This small addition enhances the overall taste and complements the fruity topping beautifully.
To make the bars even more indulgent, drizzle melted dark chocolate over the top before serving. This not only adds a rich, decadent flavor but also creates a stunning visual effect. You can also experiment with flavored extracts like almond or coconut to add depth to the cheesecake filling.
By trying these serving suggestions and variations, you can personalize your Cherry Pistachio Cheesecake Bars to suit any occasion or taste. Whether you stick to the classic recipe or experiment with new flavors, these bars are sure to be a hit with everyone.
Conclusion
Cherry Pistachio Cheesecake Bars are a delightful fusion of creamy cheesecake, crunchy pistachios, and sweet-tart cherry topping. This recipe combines rich textures and flavors to create a dessert that is as beautiful as it is delicious. By following the detailed steps for preparation, baking, cooling, and cutting, you can create a batch of these delectable bars that will impress your family and friends. Whether you stick to the classic recipe or experiment with different variations, these cheesecake bars are sure to become a favorite. Enjoy making and sharing this irresistible treat, and savor every bite of your homemade Cherry Pistachio Cheesecake Bars!