If you’re looking to add a homemade touch to your breakfast spreads, then making Homemade Blackberry Jam is a must-try. This deliciously sweet and tangy preserve captures the essence of fresh blackberries, transforming them into a versatile and delightful treat. Whether you’re an experienced canner or a novice in the kitchen, this guide will walk you through everything you need to know to create the perfect blackberry jam. We’ll cover the necessary ingredients, detailed preparation steps, cooking techniques, and even some creative serving suggestions. So, let’s get started on this flavorful journey!
Introduction and Overview
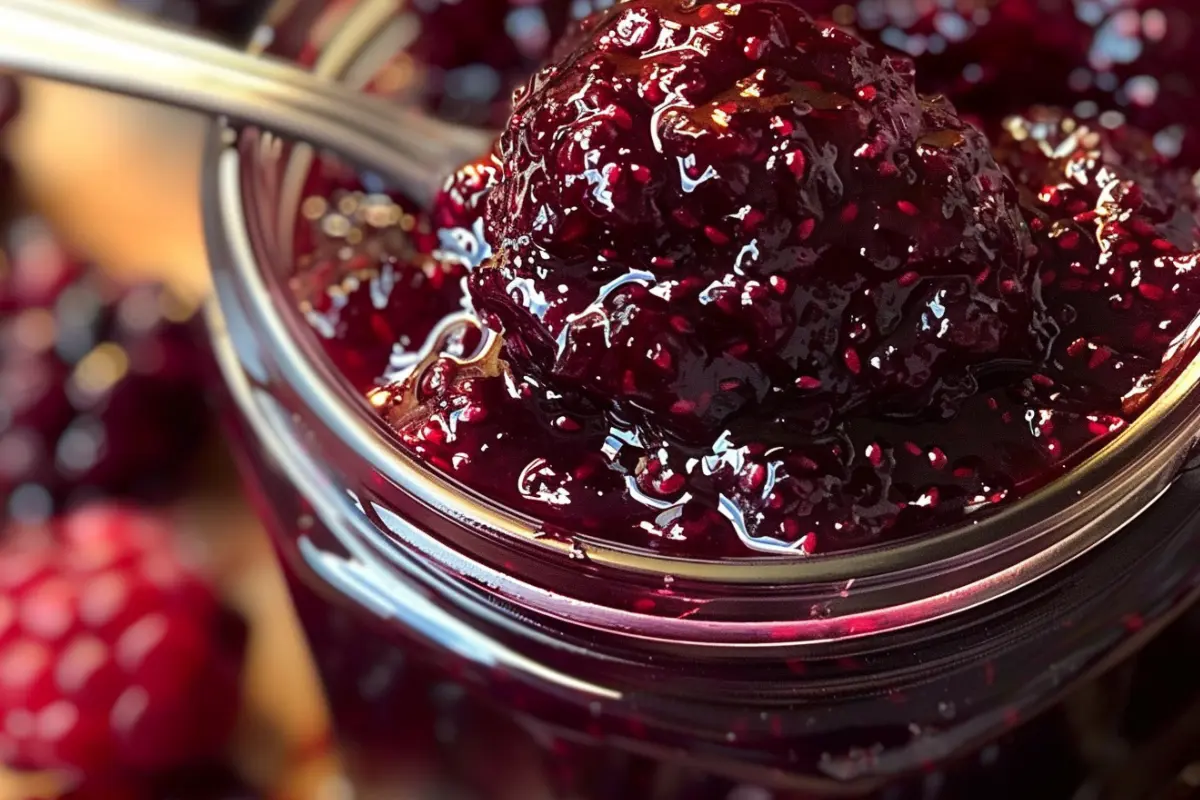
What Is Homemade Blackberry Jam?
Homemade Blackberry Jam is a preserve made from fresh blackberries, sugar, and often a touch of lemon juice or pectin. Unlike store-bought versions, making jam at home allows you to control the ingredients, ensuring a pure and flavorful result. This jam boasts a rich, fruity taste with a perfect balance of sweetness and tartness. The texture is usually thick and spreadable, making it ideal for toast, pastries, and various desserts.
In comparison to commercial jams, homemade versions often have a more intense blackberry flavor, as they lack artificial preservatives and excess sugars. Plus, the satisfaction of making your own jam is unbeatable. Whether you spread it on your morning toast, swirl it into yogurt, or use it as a topping for desserts, this jam is sure to delight your taste buds.
Ingredients and Preparation
Ingredients Needed
To make the perfect Homemade Blackberry Jam, gather the following ingredients:
- 5 cups fresh blackberries
- 7 cups granulated sugar
- 1 package (1.75 oz) pectin
- 1/4 cup lemon juice
These ingredients are essential for achieving the right balance of flavor and consistency. Fresh blackberries provide the base, while sugar enhances sweetness and preserves the jam. Pectin helps in setting the jam, and lemon juice adds a touch of acidity to balance the flavors.
Preparing the Blackberries
Firstly, wash the blackberries thoroughly under cold water. Removing any dirt or debris ensures a clean start. Next, gently pat them dry with a paper towel. It’s crucial to dry them well to avoid excess water, which can affect the jam’s texture.
After cleaning, crush the blackberries using a potato masher. Crushing releases the juices and breaks down the fruit, making it easier to cook. Don’t puree them; you want to retain some texture for a rustic feel. Transfer the crushed berries to a large, heavy-bottomed saucepan.
Making the Jam Base
Now, it’s time to prepare the jam base. Add the pectin to the crushed blackberries in the saucepan. Stir well to combine. Then, add the lemon juice. The lemon juice not only enhances the flavor but also helps in setting the jam.
Place the saucepan over medium-high heat. Stir constantly to prevent sticking and burning. Bring the mixture to a boil, then add the sugar all at once. Stir until the sugar dissolves completely. Continue to stir as the mixture returns to a rolling boil.
Boil for exactly one minute, stirring constantly. This step is crucial for ensuring the pectin activates and sets the jam properly. After one minute, remove the saucepan from the heat. Skim off any foam that forms on the surface to ensure a clear jam.
By following these steps, you’ll have a well-prepared base for your Homemade Blackberry Jam. The right balance of ingredients and careful preparation ensures a jam that’s both delicious and beautifully textured.
Cooking the Jam
Cooking Process
Now that the jam base is ready, it’s time to cook the Homemade Blackberry Jam. First, return the saucepan to medium-high heat. Stir constantly to ensure the mixture heats evenly and prevents sticking. As the jam cooks, it will begin to thicken.
Bring the mixture to a rolling boil. A rolling boil means the mixture continues to bubble vigorously even while stirring. Maintain this boil for about 10-15 minutes. During this time, continue to stir frequently. The goal is to evaporate some of the water content, which will help thicken the jam.
Testing for Doneness
To test if the jam is ready, you can use the plate test. Before starting the cooking process, place a small plate in the freezer. Once you think the jam is ready, remove the plate from the freezer and drop a small spoonful of jam onto it. Let it sit for a minute, then push the edge of the jam with your finger. If it wrinkles and holds its shape, it’s ready.
Another method is using a thermometer. The jam is done when it reaches 220°F (104°C). This temperature ensures the jam will set properly. If you don’t have a thermometer, the plate test is equally effective.
Be careful not to overcook the jam. Overcooking can lead to a thick, overly gelatinous texture. Additionally, it can cause the jam to lose its fresh blackberry flavor. When the jam has reached the desired consistency, remove it from the heat immediately.
Carefully ladle the hot Homemade Blackberry Jam into sterilized jars. Filling the jars while the jam is still hot helps in creating a vacuum seal as it cools. Leave about 1/4 inch of headspace at the top of each jar to allow for expansion. Wipe the rims of the jars with a clean, damp cloth to remove any spills. Place the lids on the jars and screw the bands on tightly.
Canning and Storage
Canning the Jam
Canning your Homemade Blackberry Jam ensures it stays fresh and delicious for months. First, prepare your canning equipment. You’ll need a large pot, canning jars, lids, bands, and a jar lifter. Fill the large pot with enough water to cover the jars by at least one inch. Bring the water to a simmer.
Meanwhile, place the empty jars in the simmering water to sterilize them. Let them sit in the hot water for at least 10 minutes. In a separate small pot, simmer the lids and bands, but do not boil them. Boiling can damage the sealing compound on the lids.
Once your jam is ready and jars are sterilized, use the jar lifter to remove the jars from the hot water. Carefully fill each jar with the hot jam, leaving about 1/4 inch of headspace at the top. This space allows for expansion during processing. Wipe the rims of the jars with a clean, damp cloth to ensure a good seal.
Next, place the lids on the jars and screw the bands on until they are fingertip tight. Do not over-tighten, as this can prevent proper sealing. Place the filled jars back into the large pot of hot water using the jar lifter.
Bring the water to a full rolling boil. Process the jars for 10 minutes, adjusting for altitude if necessary. This boiling process ensures that any bacteria are killed and the jars are sealed properly. After processing, use the jar lifter to remove the jars from the pot. Place them on a clean towel to cool completely.
Storing Homemade Blackberry Jam
Proper storage is key to maintaining the quality of your Homemade Blackberry Jam. After the jars have cooled, check the seals. Press down on the center of each lid. If it doesn’t pop back, the jar is sealed correctly. If a jar hasn’t sealed, refrigerate it and use it within a few weeks.
Store sealed jars in a cool, dark place, such as a pantry or cupboard. Avoid direct sunlight, which can degrade the quality of the jam. Properly canned and stored, the jam can last for up to a year.
Label each jar with the date it was made. This helps you keep track of freshness and rotate stock as needed. When you’re ready to enjoy your jam, simply open a jar and dig in!
By following these canning and storage steps, your Homemade Blackberry Jam will remain fresh and delicious, ready to spread on toast, mix into yogurt, or enjoy straight from the jar.